Chocolate Mint Slice Bars
Highlighted under: Bakeshop Favorites
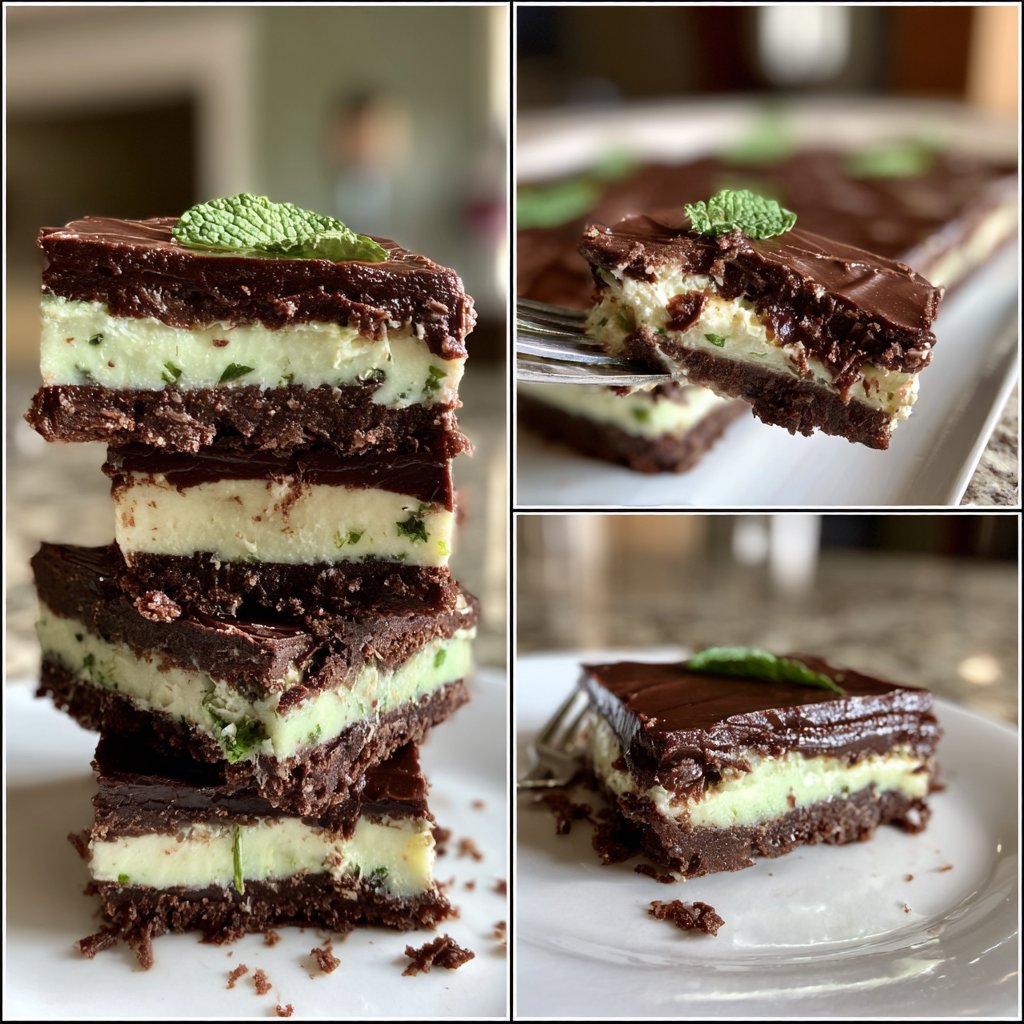
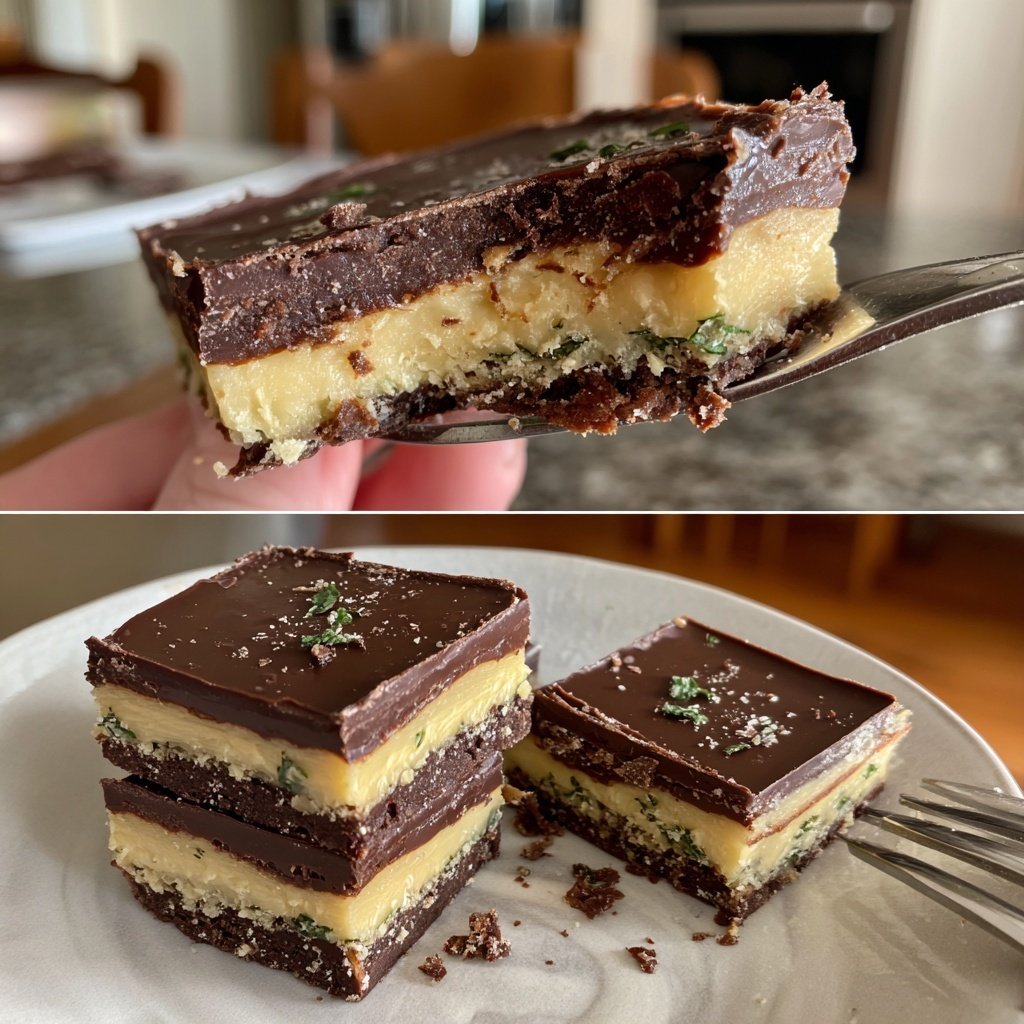
I absolutely love making these Chocolate Mint Slice Bars because they strike the perfect balance between rich chocolate and refreshing mint. Each bite is a delightful journey of flavors that I find irresistible. Preparing this treat is straightforward and requires minimal time, making it perfect for both last-minute gatherings and planned celebrations. The creamy layer of mint is my favorite part, and I always enjoy experimenting with the proportions until I achieve the ideal taste. Trust me, they’re a hit with friends and family alike!
When I first attempted these Chocolate Mint Slice Bars, I was amazed by how simple yet delightful they turned out. The combination of a crumbly chocolate base paired with a silky mint filling was an instant winner in my home. My favorite tip is to let the layers chill completely before slicing them; this helps maintain clean edges for a more professional-looking presentation.
Since then, I’ve made these bars for various occasions, and they never fail to impress. Whether enjoyed during a movie night or served at a party, the refreshing mint flavor always surprises people who take a bite. It’s rewarding to see how much joy these bars bring to others!
Why You'll Love These Bars
- The perfect combination of rich chocolate and fresh mint flavor
- Creamy texture in the middle that contrasts beautifully with the crunchy base
- Quick and easy to make, perfect for any occasion
Understanding the Ingredients
The foundation of these Chocolate Mint Slice Bars rests on crushed chocolate cookies, which bring both texture and flavor to the base. Opt for high-quality chocolate cookies, as the flavor profile will significantly influence the final result. If you want a gluten-free version, you can substitute traditional cookies with gluten-free alternatives, ensuring the texture remains intact when mixed with melted butter and sugar.
In the mint layer, powdered sugar is crucial for achieving that silky texture that contrasts beautifully with the crunchy base. I recommend using fresh peppermint extract for a vibrant flavor boost; however, if you're in a pinch, the imitation extract will still work. Ensure to blend the ingredients thoroughly to avoid any lumps, which could disrupt the smooth finish of this delightful layer.
Perfecting the Layers
When pressing the crust mixture into the baking dish, take care to pack it firmly in an even layer. This step is vital to prevent the base from becoming crumbling when cutting into bars later. Use the bottom of a measuring cup for an even surface, and chill the base properly for about 10 minutes before adding the mint layer. This cooling helps to create a solid foundation for the next layer, preventing slippage.
For the mint layer, adjust the amount of milk as needed to achieve a spreadable consistency. It’s better to add milk gradually to avoid making the mixture too runny. If you find it too thick, I’ve found that adding just a teaspoon at a time yields perfect results without sacrificing flavor or texture. Once spread over the chilled base, a quick chill in the fridge allows the mint layer to set perfectly, contributing to the harmonious layering of flavors.
Ingredients
For the base
- 1 cup crushed chocolate cookies
- 1/2 cup melted butter
- 1/4 cup granulated sugar
For the mint layer
- 1 cup powdered sugar
- 2 tablespoons unsweetened cocoa powder
- 1/4 cup melted butter
- 1/2 teaspoon peppermint extract
- 2 tablespoons milk (or more as needed)
For the chocolate topping
- 1 cup semi-sweet chocolate chips
- 1 tablespoon coconut oil
Instructions
Prepare the base
In a mixing bowl, combine the crushed chocolate cookies, melted butter, and granulated sugar. Mix well and press the mixture into a lined square baking dish to form the base. Chill for 10 minutes.
Make the mint layer
In another bowl, whisk together the powdered sugar, cocoa powder, melted butter, peppermint extract, and milk until smooth. Adjust the milk to achieve a spreadable consistency. Spread the mixture evenly over the chilled base and place it back in the fridge.
Prepare the chocolate topping
In a microwave-safe bowl, combine the chocolate chips and coconut oil. Heat in 30-second intervals, stirring in between, until melted and smooth. Pour the melted chocolate over the mint layer, smoothing it out evenly.
Chill and serve
Allow the bars to chill in the refrigerator for at least 1 hour, or until set. Once set, carefully lift the bars from the dish, cut them into squares, and serve!
Pro Tips
- For an extra touch, consider adding crushed peppermint candies as a garnish on top of the chocolate layer before it sets.
Storage and Serving Suggestions
Once you’ve made your Chocolate Mint Slice Bars, they can be stored in the refrigerator for up to a week, making them an excellent make-ahead treat. I recommend placing parchment paper between layers if you stack them to avoid sticky situations. If you plan on freezing them, slice the bars first, then wrap them individually in plastic wrap and store them in an airtight container. They’ll last for up to three months frozen.
For serving, these bars shine at gatherings and parties. Consider dusting the top with cocoa powder or garnishing with crushed mint leaves for an appealing presentation. They also pair beautifully with a scoop of vanilla ice cream or a dollop of whipped cream, bringing an indulgent twist to your dessert table.
Variations and Customizations
While the classic combination of chocolate and mint is a winner, feel free to experiment with flavors! You could swap out the mint extract for orange extract for a delightful chocolate-orange variant. Similarly, using different types of chocolate, such as white chocolate for the topping, can create a unique twist that still maintains the essence of these bars.
For a crunchier texture, you can mix in chopped nuts like walnuts or pecans into the mint layer. Simply stir in about 1/2 cup of finely chopped nuts along with the other ingredients. This will add an additional dimension of flavor and a satisfying bite, making your bars even more irresistible!
Questions About Recipes
→ Can I use dark chocolate instead of semi-sweet?
Absolutely! Dark chocolate will give the bars a richer flavor.
→ How long do these bars keep?
They can be stored in an airtight container in the fridge for up to a week.
→ Can I make these bars vegan?
Yes, just use vegan chocolate and replace butter with a plant-based alternative.
→ Is there a substitute for peppermint extract?
You can use spearmint extract or even a hint of vanilla for a different flavor.
Chocolate Mint Slice Bars
What You'll Need
For the base
- 1 cup crushed chocolate cookies
- 1/2 cup melted butter
- 1/4 cup granulated sugar
For the mint layer
- 1 cup powdered sugar
- 2 tablespoons unsweetened cocoa powder
- 1/4 cup melted butter
- 1/2 teaspoon peppermint extract
- 2 tablespoons milk (or more as needed)
For the chocolate topping
- 1 cup semi-sweet chocolate chips
- 1 tablespoon coconut oil
How-To Steps
In a mixing bowl, combine the crushed chocolate cookies, melted butter, and granulated sugar. Mix well and press the mixture into a lined square baking dish to form the base. Chill for 10 minutes.
In another bowl, whisk together the powdered sugar, cocoa powder, melted butter, peppermint extract, and milk until smooth. Adjust the milk to achieve a spreadable consistency. Spread the mixture evenly over the chilled base and place it back in the fridge.
In a microwave-safe bowl, combine the chocolate chips and coconut oil. Heat in 30-second intervals, stirring in between, until melted and smooth. Pour the melted chocolate over the mint layer, smoothing it out evenly.
Allow the bars to chill in the refrigerator for at least 1 hour, or until set. Once set, carefully lift the bars from the dish, cut them into squares, and serve!
Extra Tips
- For an extra touch, consider adding crushed peppermint candies as a garnish on top of the chocolate layer before it sets.
Nutritional Breakdown (Per Serving)
- Calories: 200 kcal
- Total Fat: 12g
- Saturated Fat: 6g
- Cholesterol: 20mg
- Sodium: 60mg
- Total Carbohydrates: 24g
- Dietary Fiber: 1g
- Sugars: 18g
- Protein: 2g